Choose your language here
Backgammon
![Logo]()
1Grab 15 checkers each. Typically black or white
2Prepare 2 dice
3Position the checkers in starting formation![Animatioin inside]()
![Expand]()
![Animatioin inside]()
![Expand]()
 Black positions its checkers directly opposite of the white's
![Animatioin inside]()
![Expand]()
4Step by step setup video![Animatioin inside]()
![Expand]()
5Dice roll decides the starting player![Expand]()
6In the first round, you also play with this number directly


Setup
1Grab 15 checkers each. Typically black or white
1
Grab 15 checkers each. Typically black or white
2Prepare 2 dice
2
Prepare 2 dice
3Position the checkers in starting formation![Animatioin inside]()
![Expand]()
![Animatioin inside]()
![Expand]()
![Animatioin inside]()
![Expand]()
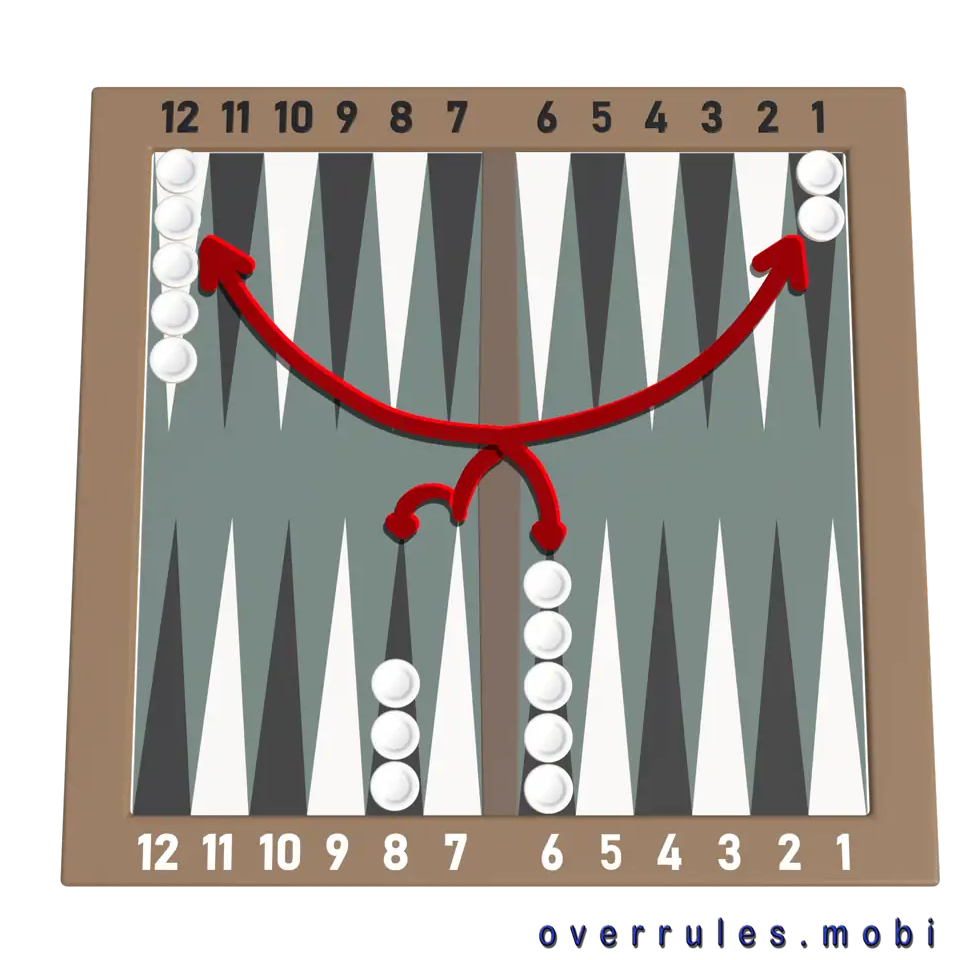
3
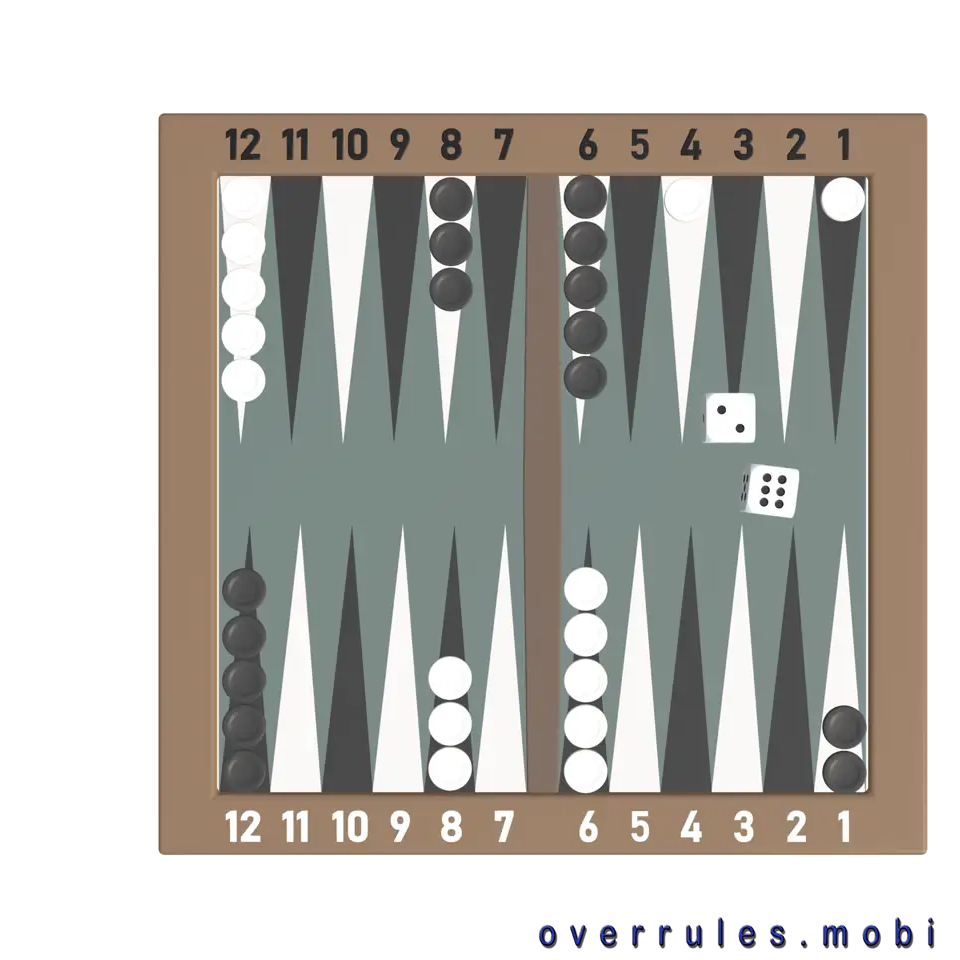
Position the checkers in starting formation


The setup might seem illogical, but that's just how it is
If you are playing with White
Place 5 checkers on the top left corner.
Another 5 checkers go to the bottom right, next to the bar.
Position 2 checkers at the very top right.
The last 3 checkers are placed at the bottom, 2 spaces left from the bar.
Black positions its checkers directly opposite of the white's
4Step by step setup video![Animatioin inside]()
![Expand]()
4
Step by step setup video
5Dice roll decides the starting player![Expand]()
5
Dice roll decides the starting player
Before starting, each player rolls one die.
Whoever rolls the higher number starts the game.
6In the first round, you also play with this number directly
6
In the first round, you also play with this number directly
![Logo]()
1Bring all your checkers home![Animatioin inside]()
![Expand]()
![Animatioin inside]()
![Expand]()
 White moves counterclockwise - black moves in the opposite direction
![Animatioin inside]()
![Expand]()
 Then you try to bear off all your checkers from the board.
2Then try to bear off your checkers from the board
3Whoever does so first, wins


Goal
1Bring all your checkers home![Animatioin inside]()
![Expand]()
![Animatioin inside]()
![Expand]()
![Animatioin inside]()
![Expand]()
1
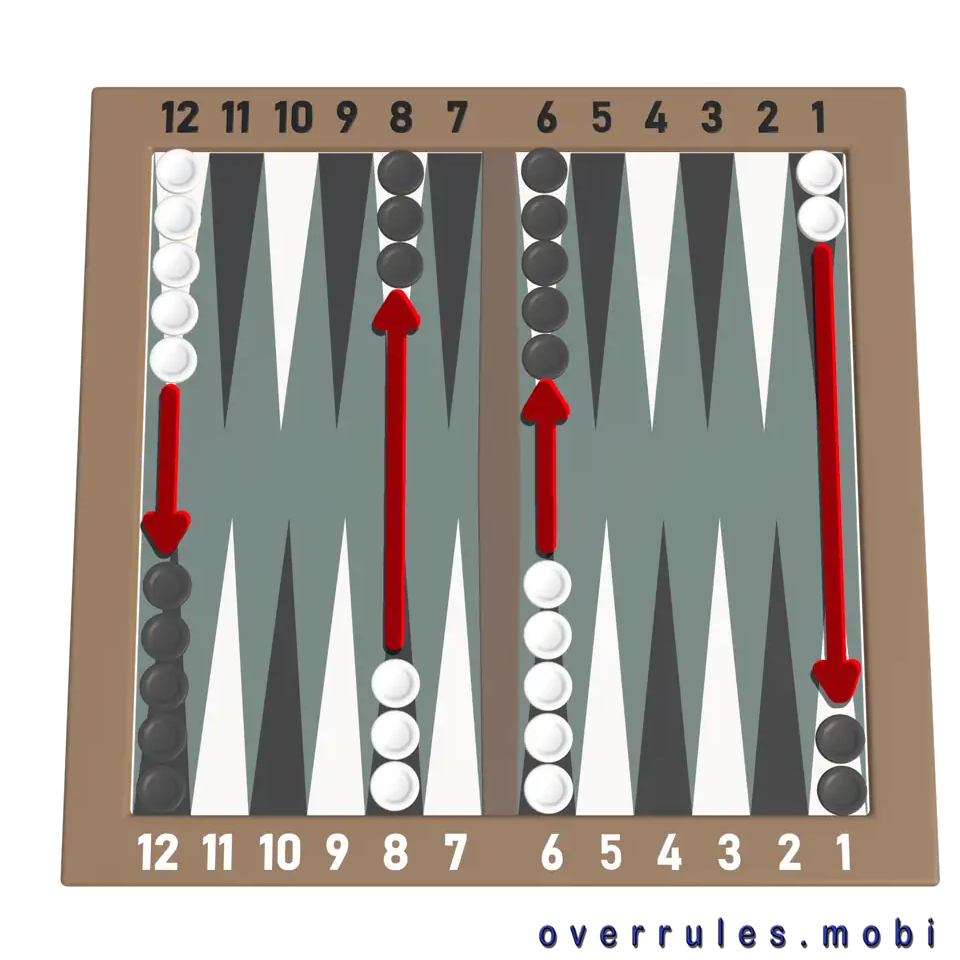
Bring all your checkers home
Your goal is to move all your checkers into your home board.
For White, the home board is at the bottom right, for Black it's directly opposite
White moves counterclockwise - black moves in the opposite direction
Then you try to bear off all your checkers from the board.
2Then try to bear off your checkers from the board
2
Then try to bear off your checkers from the board
3Whoever does so first, wins
3
Whoever does so first, wins
![Logo]()
1first round![Expand]()
2from the second round on![Animatioin inside]()
![Expand]()
![Animatioin inside]()
![Expand]()
 On a double (same numbers), you may move four times instead of twice.
![Animatioin inside]()
![Expand]()
3Making moves![Animatioin inside]()
![Expand]()
![Animatioin inside]()
![Expand]()
4Hitting a checker and placing it on the bar![Animatioin inside]()
![Expand]()
![Animatioin inside]()
![Expand]()
 A hit checker lands on the barIt must be entered into the game again before the player can make further movesFor this, you must use a dice roll to place it into the opponent's home board.
![Expand]()
![Link]()
5Bearing off checkers from the board![Animatioin inside]()
![Expand]()
![Animatioin inside]()
![Expand]()
 For Black the same numbers apply but mirroredIf you are the first to remove all your checkers, you are the winner


Gameplay
1first round![Expand]()
1
first round
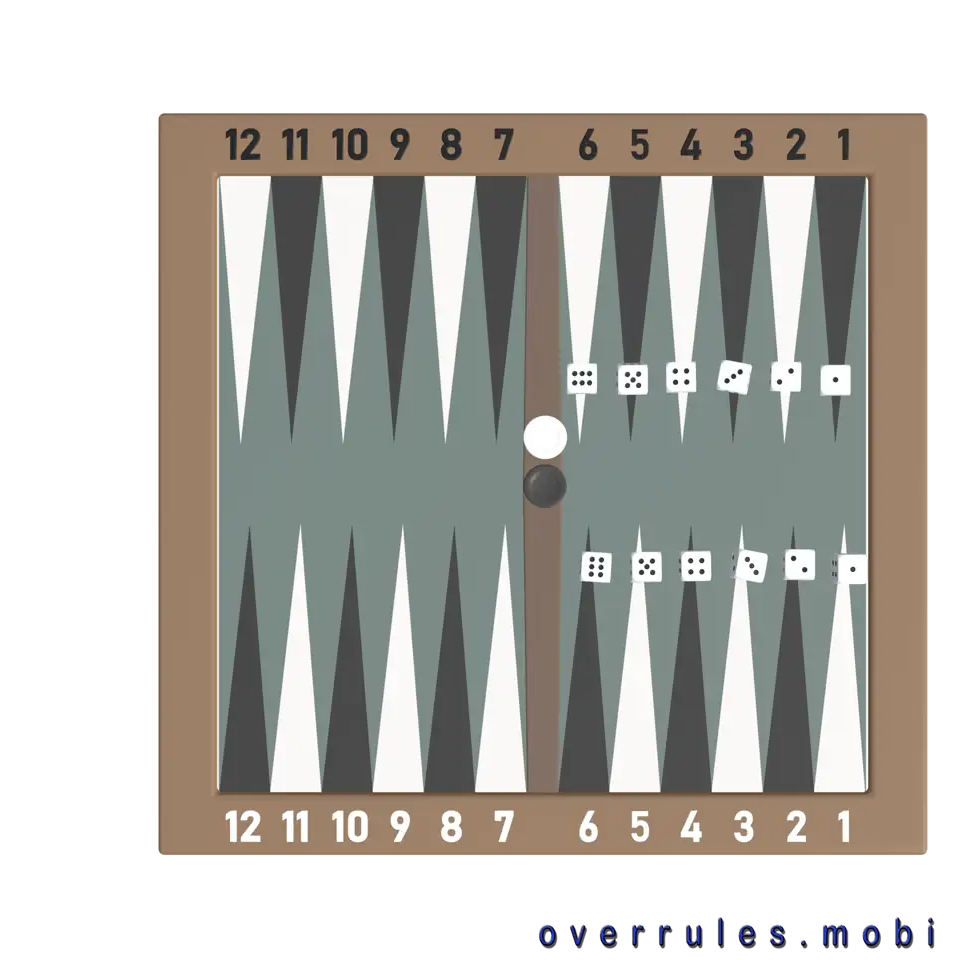
The player with the higher dice roll starts and moves a checker the rolled number
Then the second player moves his checker the rolled number
2from the second round on![Animatioin inside]()
![Expand]()
![Animatioin inside]()
![Expand]()
![Animatioin inside]()
![Expand]()
2
from the second round on
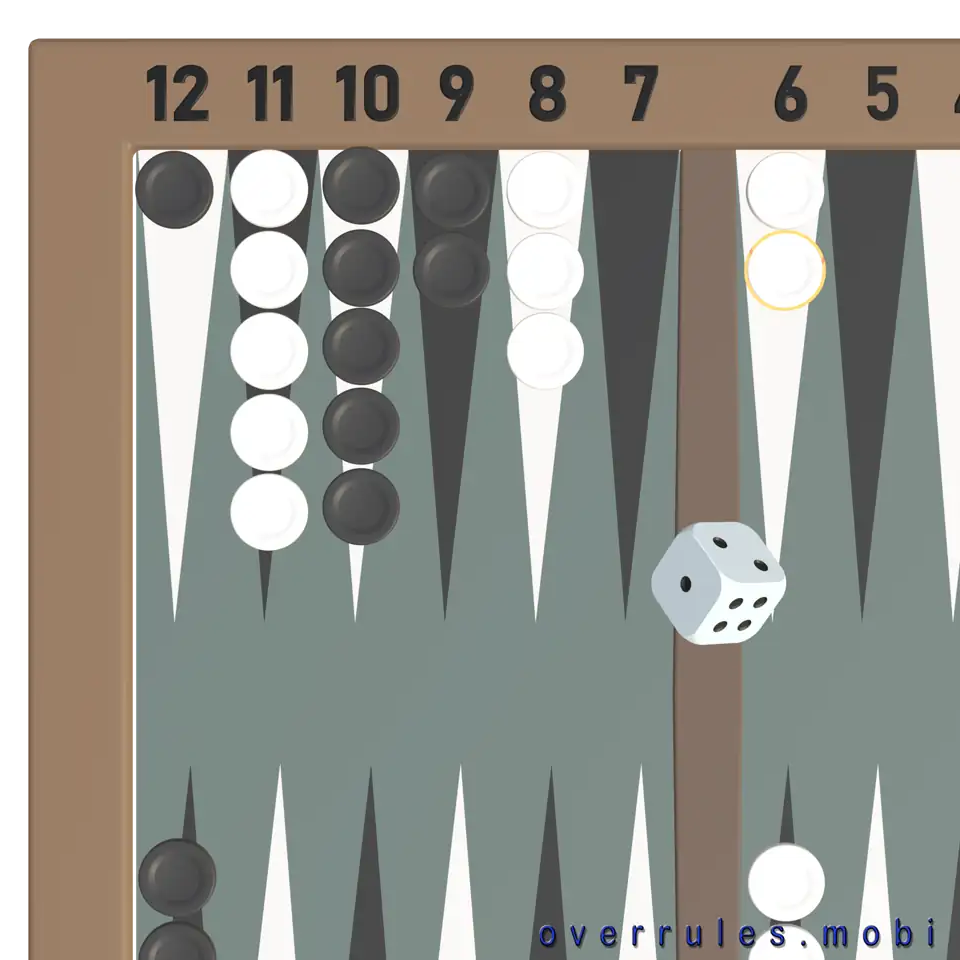
When it's your turn, roll both dice
Move your checkers according to the dice eyes
You may move the same checker twice
On a double (same numbers), you may move four times instead of twice.
3Making moves![Animatioin inside]()
![Expand]()
![Animatioin inside]()
![Expand]()
3
Making moves
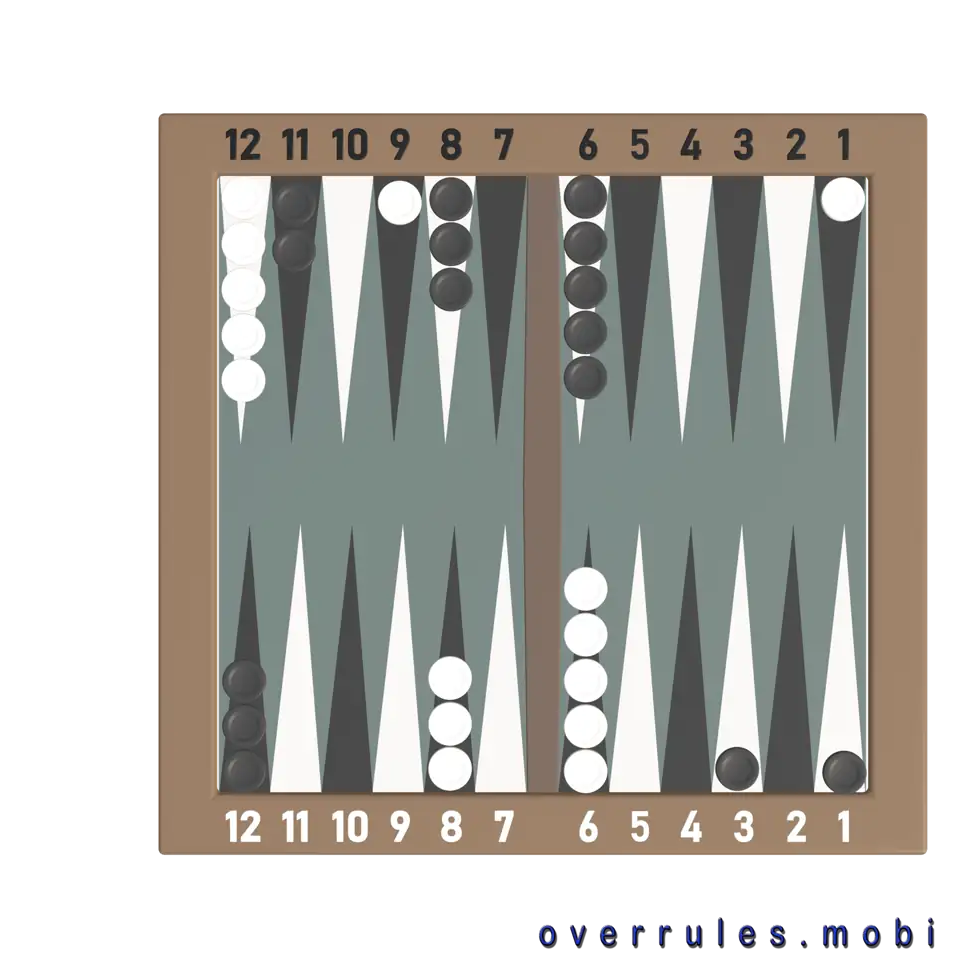
You can move to any free spot
Or to a spot already occupied by up to 4 of your own checkers.
You may hit an opponent's single checker and place it on the bar.
Here it is again as a picture
4Hitting a checker and placing it on the bar![Animatioin inside]()
![Expand]()
![Animatioin inside]()
![Expand]()
![Expand]()
![Link]()
4
Hitting a checker and placing it on the bar
A checker is hit if
it stands alone on a point
and an opposing checker lands on that spot
A hit checker lands on the bar
It must be entered into the game again before the player can make further moves
For this, you must use a dice roll to place it into the opponent's home board.
Here you find the details


5Bearing off checkers from the board![Animatioin inside]()
![Expand]()
![Animatioin inside]()
![Expand]()
5
Bearing off checkers from the board
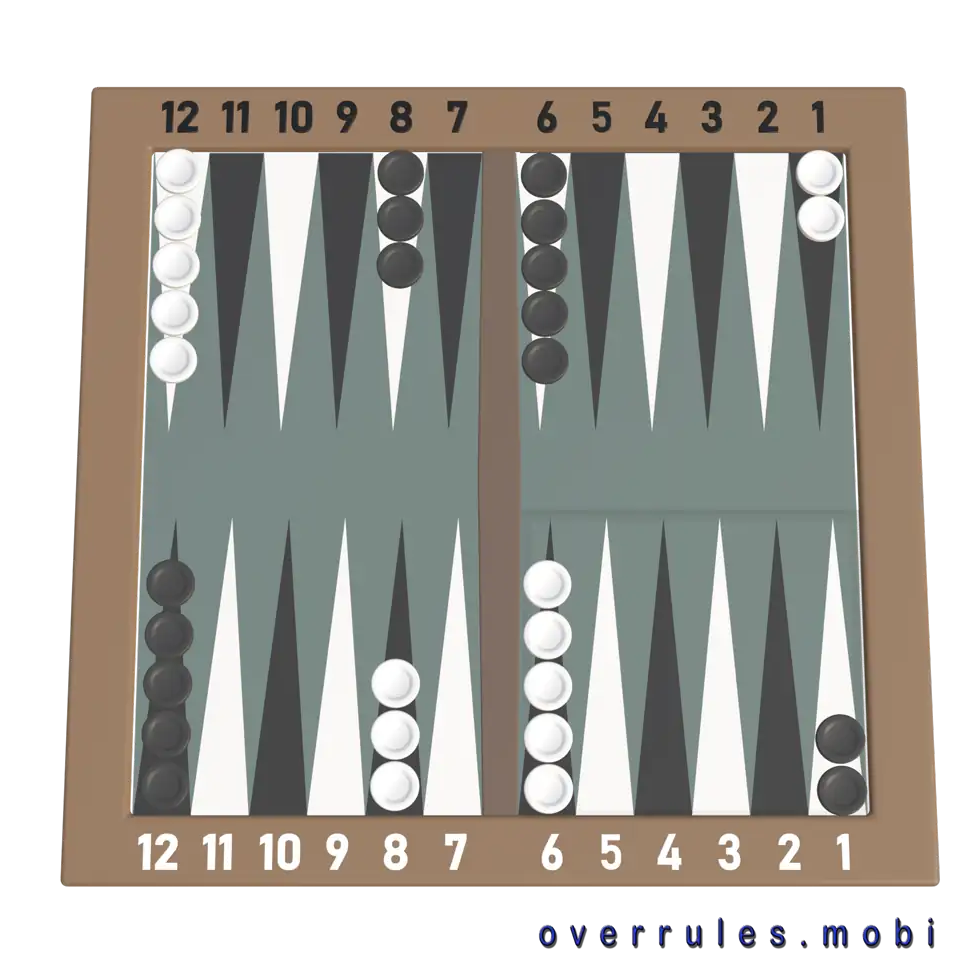
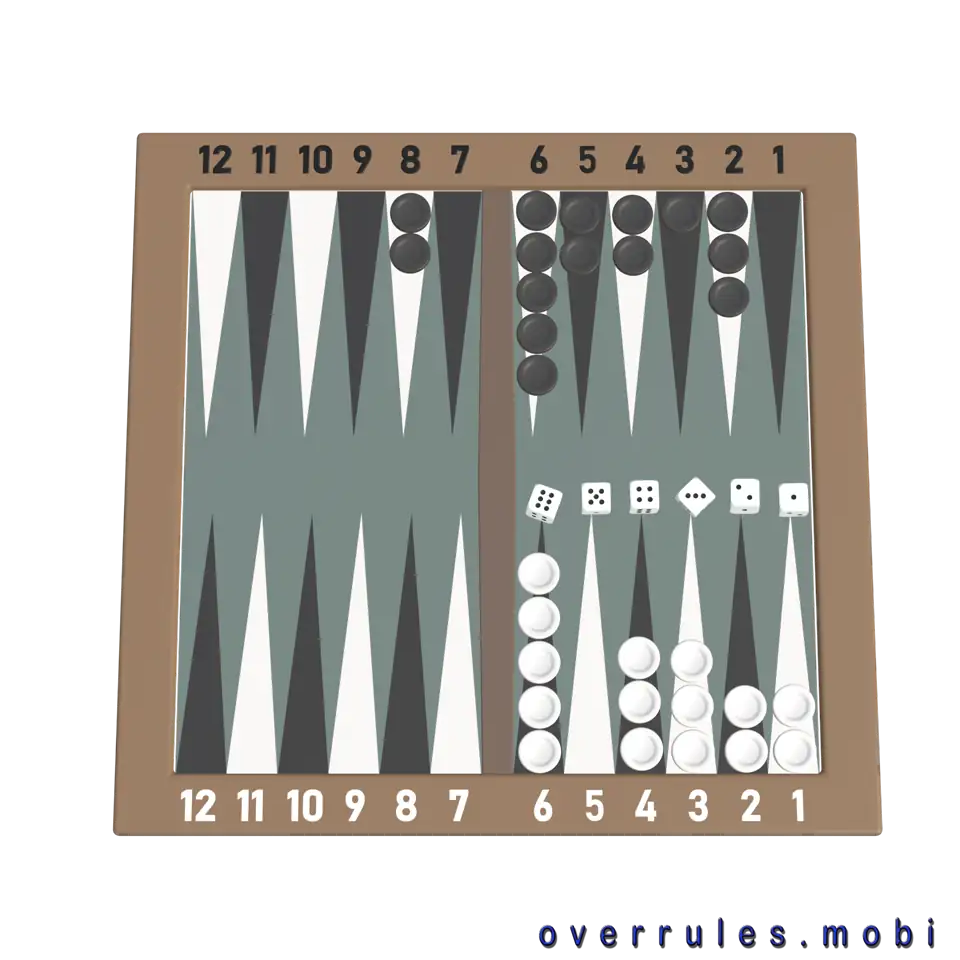
Once all your checkers are in the home board
you may start bearing off
You roll both dice as usual
The dice number indicates from which point you may remove a checker
If there is no checker on that point, you may remove a checker from the next lower point, and so on.
Here the point 5 is empty. So the 5 dice can remove a checker from point 4.
For Black the same numbers apply but mirrored
If you are the first to remove all your checkers, you are the winner
![Logo]()
1The points on the board![Expand]()
2Home boards and the bar![Animatioin inside]()
![Expand]()
![Animatioin inside]()
![Expand]()
3How to re-enter checkers from the bar![Animatioin inside]()
![Expand]()
![Expand]()
![Animatioin inside]()
![Expand]()


Infos
1The points on the board![Expand]()
1
The points on the board
The points are the spots where your checkers land
The colors of the points are just for orientation.
The home boards are crucial for bearing off the checkers.
2Home boards and the bar![Animatioin inside]()
![Expand]()
![Animatioin inside]()
![Expand]()
2
Home boards and the bar
Each player has their own home board.
The bar divides the board in the middle
Hit checkers land there
3How to re-enter checkers from the bar![Animatioin inside]()
![Expand]()
![Expand]()
![Animatioin inside]()
![Expand]()
3
How to re-enter checkers from the bar
You roll both dice as in any round
The numbers 1 - 6 on the dice correspond to the 6 points of the opponent's home board
The quarter that's furthest from your end zone.
For each checker, you must use a die
and place it on the corresponding point
Here you see the dice results and matching points